Diy Lighting For Product Photography
Introduction
Product photography plays a crucial role in showcasing items effectively, whether for online sales or marketing materials. Good lighting is essential to highlight the features of a product and create an appealing image. For those who may not have access to professional lighting equipment, DIY lighting solutions can provide excellent results without breaking the bank. This guide will explore various DIY lighting techniques and setups that can enhance product photography.
Understanding Lighting Basics
Before diving into specific setups, it’s important to understand some basic concepts of lighting in photography. The quality, direction, and color of light can significantly affect the outcome of a photograph. Here are a few key terms:
- Quality of Light: Refers to how harsh or soft the light appears. Soft light reduces shadows and highlights, making it ideal for product shots.
- Direction of Light: The angle from which light hits the product can create different effects. Front lighting tends to flatten the image, while side lighting can add depth.
- Color Temperature: Different light sources emit light at varying color temperatures. Understanding this can help in achieving accurate color representation in photos.
DIY Lighting Setups
Creating a DIY lighting setup can be as simple or complex as needed. Here are several effective methods to consider:
1. Using Natural Light
Natural light can be one of the best sources for product photography. Positioning products near a window can provide soft, diffused light. To enhance this setup:
- Use sheer curtains to diffuse direct sunlight.
- Photograph during the golden hour (early morning or late afternoon) for warm, flattering light.
2. DIY Lightbox
A lightbox is a simple way to create a controlled lighting environment. To make one:
- Use a cardboard box and cut out the sides.
- Cover the openings with white fabric or paper to diffuse the light.
- Place a light source on either side of the box for even illumination.
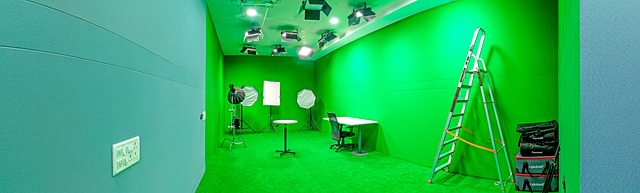
3. LED Panels and Ring Lights
LED panels and ring lights are popular for their versatility. They provide consistent lighting and can be adjusted for brightness. When using these lights:
- Experiment with different distances from the product to find the right intensity.
- Use colored gels to change the mood or tone of the lighting.
4. Reflectors
Reflectors can help bounce light onto the product, reducing shadows and enhancing highlights. Common materials for reflectors include:
- White foam board for soft reflection.
- Aluminum foil for a stronger, more focused reflection.
Tips for Effective Product Photography
In addition to lighting, several other factors can improve product photography:
- Background: Choose a background that contrasts with the product to make it stand out. Neutral colors often work best.
- Camera Settings: Use a tripod to stabilize the camera and prevent blurriness. Adjust settings such as ISO, aperture, and shutter speed according to the lighting conditions.
- Post-Processing: Editing software can enhance images further. Adjust brightness, contrast, and color balance to achieve the desired look.
Conclusion
DIY lighting for product photography is an accessible way to improve image quality without significant investment. By understanding lighting basics and experimenting with different setups, anyone can create professional-looking product images. Whether using natural light, building a lightbox, or utilizing LED panels, the key is to find what works best for the specific products being photographed.


 વારસો ગણવામાં: શું છે આ કાયદો?
 Health
  Fitness
  Lifestyle
  Tech
Tech  Travel
  Food
Food  Education
  Parenting
  Career & Work
  Hobbies
  Wellness
  Beauty
  Cars
Cars  Art
Art  Science
  Culture
  Books
Books  Music
Music  Movies
  Gaming
  Sports
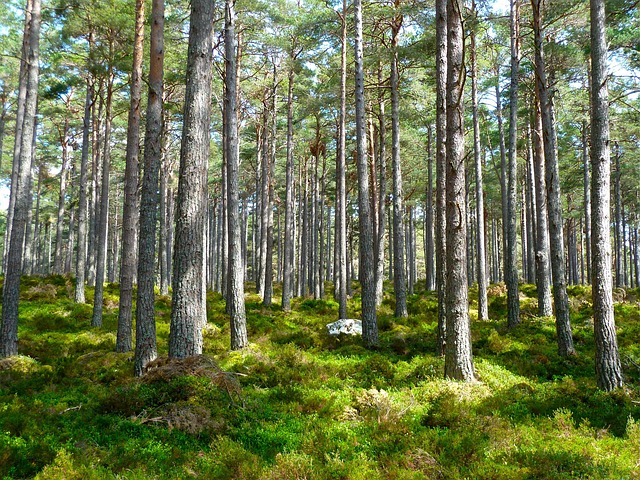
  Nature
  Home & Garden
  Business & Finance
  Relationships
  Pets
Pets  Shopping
  Mindset & Inspiration
  Environment
  Gadgets
  Politics