
Getting Started with Eye Painting
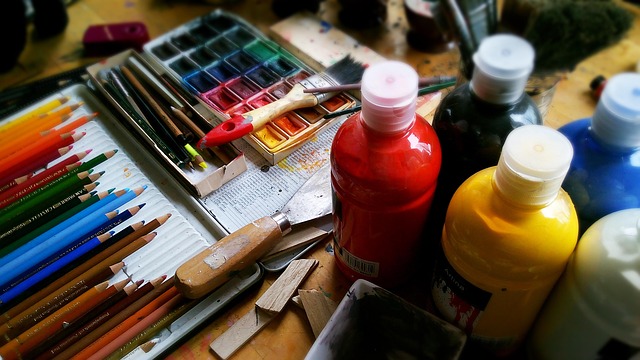
Painting eyes can be one of the most rewarding yet challenging aspects of portrait art. The eyes are often referred to as the "windows to the soul," and capturing their essence can bring your artwork to life. Whether you're a beginner or looking to refine your skills, understanding the anatomy and techniques involved in eye painting is essential. Let’s dive into some practical tips to help you create stunning eye art! 🎨
Understanding Eye Anatomy
Before putting brush to canvas, it’s helpful to familiarize yourself with the structure of the eye. The human eye consists of various parts, including the iris, pupil, sclera (the white part), and eyelids. Each component has its own unique characteristics that contribute to the overall appearance. For instance, the shape of the iris can vary significantly from person to person, and even between the two eyes of the same individual. Taking reference photos can be a great way to study these variations and get a feel for how to replicate them in your artwork.
Layering Techniques
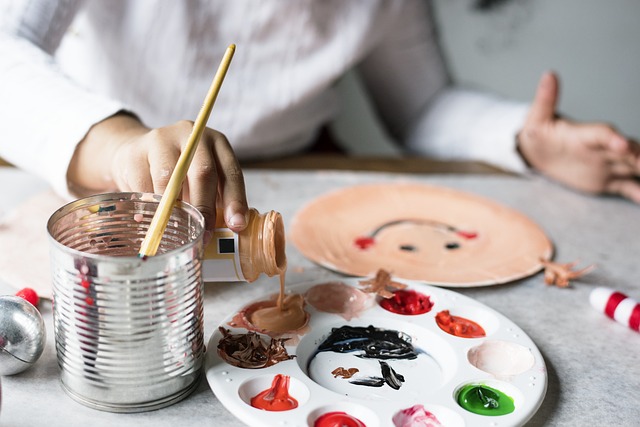
One of the key techniques in eye painting is layering. Instead of trying to paint the entire eye in one go, break it down into separate layers. Start with the base color of the iris, and then gradually build up the details. Here’s a simple step-by-step approach:
- Base Layer: Begin by painting the entire iris with a solid color that represents its base tone.
- Add Details: Once the base layer is dry, add darker shades to create depth and dimension. Consider where the shadows naturally fall, such as under the eyelid.
- Highlighting: After establishing the shadows, add lighter tones to areas where light hits the iris. This helps create a realistic shine.
- Reflections: Finally, paint any reflections or highlights on top of the iris. This is where you can add those captivating glimmers that make the eye sparkle.
Color Choices
When it comes to painting the sclera, avoid using pure white. Instead, opt for subtle off-whites or light grays to give it a more natural look. The sclera often has slight variations in color due to shadows and reflections, so pay attention to these nuances. Additionally, the eyelids can cast shadows on the iris, so consider using darker tones to represent this effect.
Practice Makes Perfect
As with any art form, practice is crucial. Don’t be discouraged if your first few attempts don’t turn out as expected. Try drawing different eye shapes and experimenting with various colors. The more you practice, the more comfortable you’ll become with the techniques. Remember, everyone has their unique style, so embrace yours! 🌟
Final Thoughts
Eye painting can be a delightful challenge that enhances your artistic skills. By understanding eye anatomy, utilizing layering techniques, and practicing regularly, you’ll be on your way to creating lifelike eyes in no time. So grab your brushes, find some inspiration, and let your creativity flow!


 The Artistic Resources in Action Foundation!
 Health
  Fitness
  Lifestyle
  Tech
Tech  Travel
  Food
Food  Education
  Parenting
  Career & Work
  Hobbies
  Wellness
  Beauty
  Cars
Cars  Art
Art  Science
  Culture
  Books
Books  Music
Music  Movies
  Gaming
  Sports
  Nature
  Home & Garden
  Business & Finance
  Relationships
  Pets
Pets  Shopping
  Mindset & Inspiration
  Environment
  Gadgets
  Politics