The Flute Fingering Chart
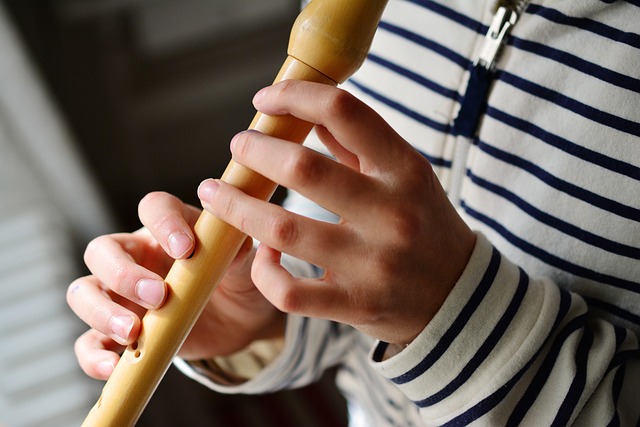
The flute is a versatile instrument that has captivated musicians for centuries. For beginners, mastering the basics is essential, and a flute fingering chart serves as a vital tool in this learning process. This chart provides a visual representation of the finger placements necessary to produce each note on the flute.
What is a Flute Fingering Chart?
A flute fingering chart displays the various notes that can be played on the flute, along with the corresponding finger positions. Each note is represented by a diagram showing which holes should be covered or left open. Understanding this chart is crucial for beginners as it lays the foundation for playing melodies and scales.
How to Read the Fingering Chart
Reading a flute fingering chart is straightforward. The chart typically includes:
- Note Names: Each note is labeled, usually from low to high, such as C, D, E, etc.
- Finger Positions: Diagrams indicate which keys or holes to press. Filled circles represent holes that should be covered, while empty circles indicate holes that should remain open.
- Octave Indicators: Some charts may show different fingerings for notes in various octaves, which is essential for playing higher or lower pitches.
- Special Techniques: Advanced charts might include fingerings for trills or alternate fingerings for certain notes.
Basic Fingering Positions
For those just starting, here are some fundamental fingerings to know:
- C (Middle C): Cover the first hole with your left index finger.
- D: Cover the first hole with your left index finger and the second hole with your left middle finger.
- E: Cover the first hole with your left index finger, the second hole with your left middle finger, and the third hole with your left ring finger.
- F: Cover the first hole with your left index finger, the second hole with your left middle finger, and the third hole with your left ring finger, plus the first hole on the right hand.
Tips for Using the Fingering Chart
To effectively utilize the fingering chart, consider the following tips:
- Practice Regularly: Consistent practice will help reinforce muscle memory for finger placements.
- Start Slow: Begin by playing simple melodies and gradually increase complexity as you become more comfortable.
- Use Visual Aids: Keep the fingering chart visible while practicing to reinforce learning.
- Seek Feedback: If possible, work with a teacher or experienced flutist who can provide guidance and correct any mistakes.
Resources for Flute Players
In addition to the fingering chart, there are numerous resources available for flute players:
- Instructional Books: Many books offer structured lessons and exercises tailored for beginners.
- Online Tutorials: Video tutorials can provide visual demonstrations of techniques and fingerings.
- Flute Communities: Joining online forums or local music groups can provide support and motivation.
- Music Stores: Local music shops often have knowledgeable staff who can offer advice on flute care and maintenance.
Conclusion
A flute fingering chart is an indispensable resource for anyone looking to learn the instrument. By understanding how to read and utilize the chart, beginners can develop their skills and enjoy the process of making music. With practice and dedication, the flute can become a rewarding outlet for creativity and expression.


 Explore Your Passion at the Animal Behavior Institute
 Health
  Fitness
  Lifestyle
  Tech
Tech  Travel
  Food
Food  Education
  Parenting
  Career & Work
  Hobbies
  Wellness
  Beauty
  Cars
Cars  Art
Art  Science
  Culture
  Books
Books  Music
Music  Movies
  Gaming
  Sports
  Nature
  Home & Garden
  Business & Finance
  Relationships
  Pets
Pets  Shopping
  Mindset & Inspiration
  Environment
  Gadgets
  Politics