Data Transfer: A Beginner's Guide
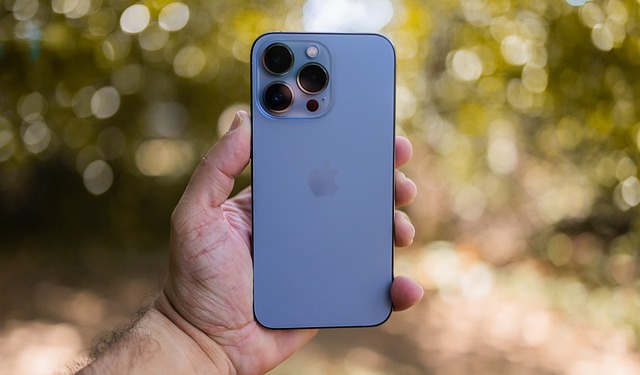
Switching to a new phone can feel like moving houses: the excitement of a fresh start mixed with the dread of packing all your stuff. But fear not! Transferring data from your old device to your new Android phone can be a smooth ride if you follow a few simple steps. Let’s dive into the nitty-gritty without losing our minds (or our photos). 😅
Before You Start: Get Ready!
First things first, make sure you’re connected to a reliable Wi-Fi network. You wouldn’t want your data transfer interrupted by a buffering video, right? Also, sign into your Google account during the setup process. Think of it as your digital passport to access all your precious data.
Step-by-Step Data Transfer
- Turn on Your New Android Phone: Follow the on-screen prompts like a well-trained puppy. When it asks if you have a cable, just say “No cable.” This is not the time to go digging through drawers looking for that ancient USB cable.
- Use the Switch to Android App: Download the Switch to Android app on your old device. This nifty little app will help you connect your iPhone and Android via Wi-Fi. Yes, it’s like magic but with less glitter.
- Select Your Data: When prompted, choose what you want to bring along. Contacts, photos, videos, and calendar events are all fair game. But if you’re attached to your cat memes, make sure to include those too!
- Transfer Messages and WhatsApp Chats: If you want to carry over your messages and WhatsApp chats, you’ll need a cable for this part. Yes, the dreaded cable is back! But it’s worth it to keep those hilarious group chat memories.
- Finish Up: Once you’ve selected everything, just sit back and relax. Your data will start transferring, and before you know it, you’ll be ready to explore your new phone like a kid in a candy store.
Post-Transfer Checklist
Once your data is transferred, it’s time for some housekeeping:
- Check Your Apps: Ensure all your favorite apps are installed and ready to go. If not, it’s time to hit the app store!
- Verify Your eSIM: If you’re using an eSIM, follow the instructions to download or transfer it to your new device. Think of it as giving your phone a new identity.
- Backup Your Data: Now that you’ve got everything in one place, consider setting up regular backups. It’s like putting your data in a safety deposit box—only less dramatic.
And there you have it! Data transfer made simple. With a little patience and the right steps, you can say goodbye to your old phone without leaving any important memories behind. Happy transferring! 🎉


 Cyber Threats: A Practical Overview
 Health
  Fitness
  Lifestyle
  Tech
Tech  Travel
  Food
Food  Education
  Parenting
  Career & Work
  Hobbies
  Wellness
  Beauty
  Cars
Cars  Art
Art  Science
  Culture
  Books
Books  Music
Music  Movies
  Gaming
  Sports
  Nature
  Home & Garden
  Business & Finance
  Relationships
  Pets
Pets  Shopping
  Mindset & Inspiration
  Environment
 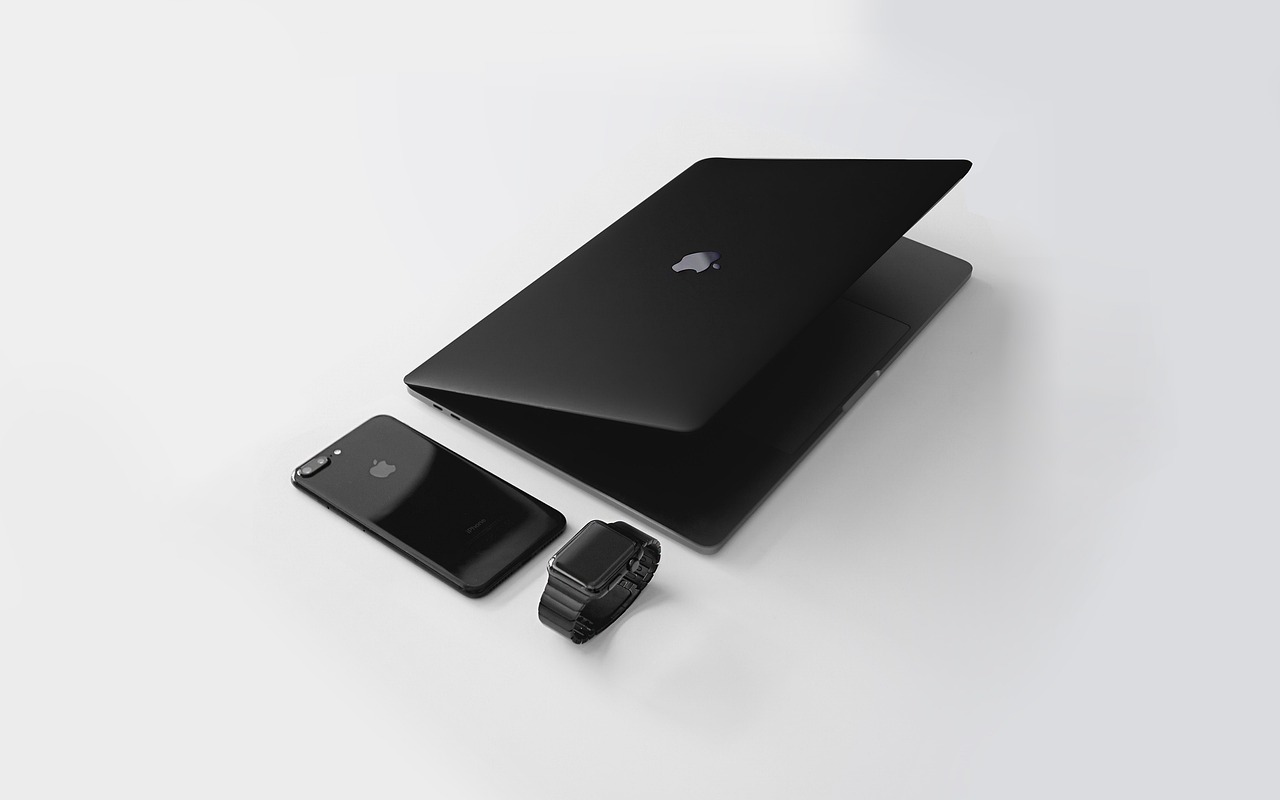 Gadgets
  Politics